
I have drawn a lot of attention to my goals for Em’s room, but haven’t really mentioned the boys’ rooms. Currently, between the two rooms, the only wall decor is examples of E’s coloring plastered all over the walls. He is very proud of his work, and I love that…but I would like a more aesthetically pleasing display (randomly taped to the walls isn’t working for me). I am not quite ready to tackle a changeable artwork display for him, that will come in time, but I do want to add some things here and there that make the room come together more.
In general, kids love to see their names, initials, monograms, etc. I wanted to make something with just the first letter of their names, without spending much. I found half price canvases at Michael’s, and stocked up for at least 2 projects for each child (I wanted to do initials and silhouettes). I also picked up some clearance scrapbooking paper that would jive with both rooms, puffy paint, and craft paint. I got the idea from this Pin. I tweaked it just a bit, using the wax paper idea to create the initials. I made the letter template in photoshop and printed it out.
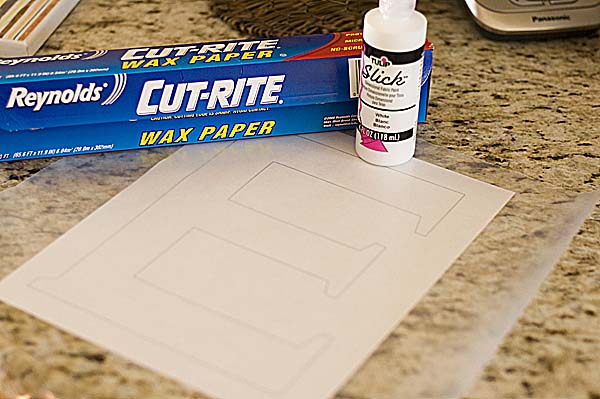
I layed the waxpaper on top of my template and carefully outlined the letter with puffy paint. Then I filled it in with a liberal amount of the puffy paint. I tried to be sure there were no holes in the paint.
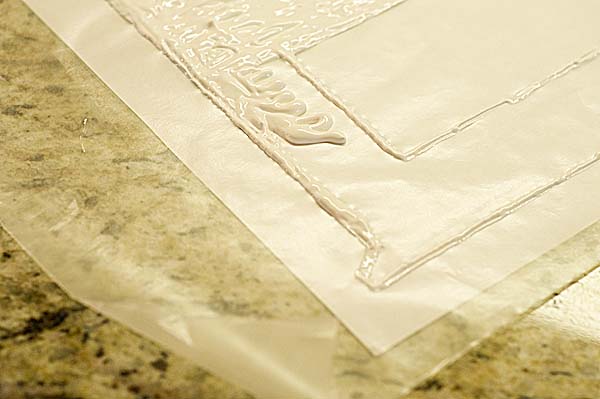
Then I put it aside to dry…this took a while because I made it pretty thick.

While this was drying I prepped the canvas.

I brushed on a layer of mod podge, then carefully placed the scrapbooking paper on top.
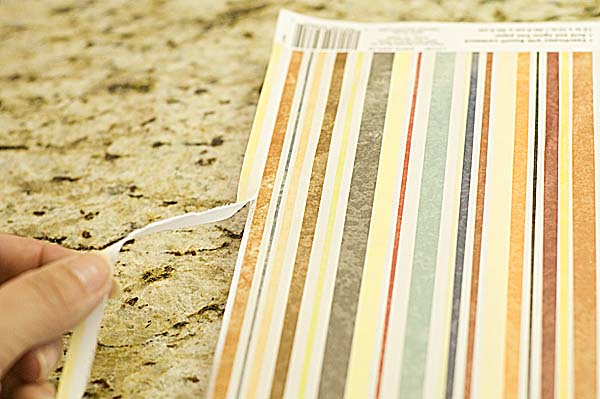
I did flip it over to smooth it out…the canvas gives when you push on it, so flipping it over gave me a nice surface to press against. Then I trimmed the extra using a utility knife. After I got it all trimmed up, I added another coat of Mod Podge.

After the letter was completely dry (overnight), I started to carefully peel it away from the wax paper. I didn’t pull too hard, because the puffy paint is flexible and stretches out pretty easily.
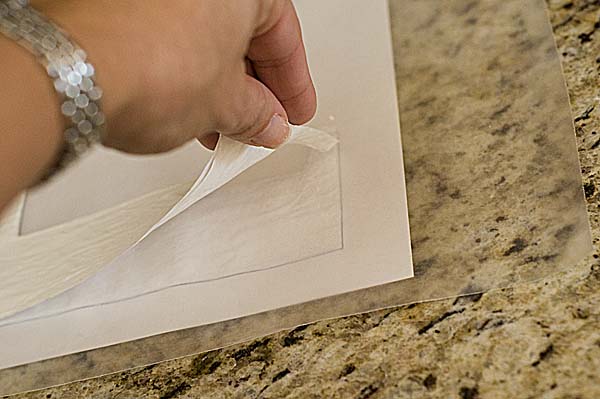
Once the E was free from the wax paper, I carefully laid it on the (dry) canvas. I eyeballed the placement.
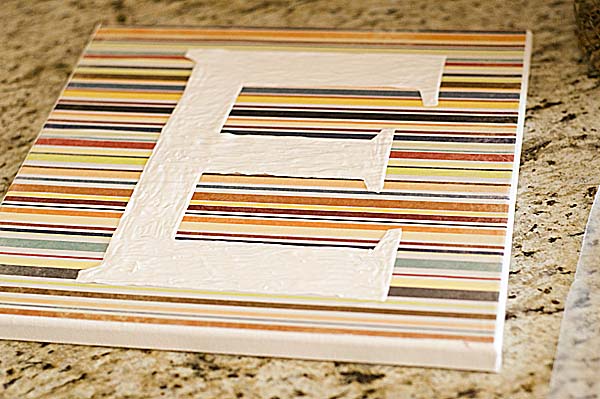
I pressed it to the canvas surface as best I could, it doesn’t really stick…so I tried to be careful around the edges when I painted it…I worked from the puffy paint out to minimize the bleeding under the letter.
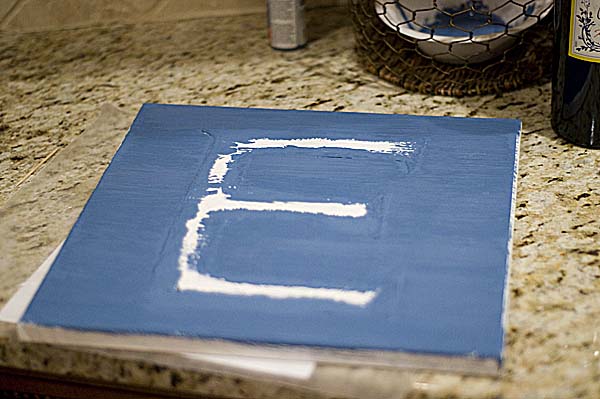
I let the paint dry before I started lifting the edges of the E. A toothpick was particularly handy with this process.
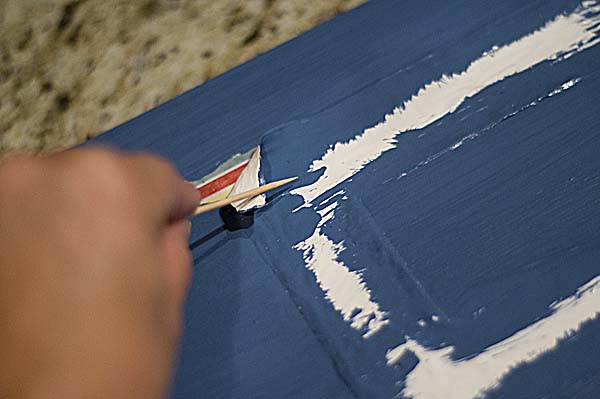
Once I removed the whole letter, I put a final coat of Mod Podge over the entire surface.

The edges aren’t perfectly crisp & straight, but it makes it feel ‘rustic’ ;). E LOVES it! He can’t wait to hang it…I am going to make these for O (in green), L (in orange) with the same paper, and Em will get one using the floral fabric for her room with pink (of course). Since I completed this project, I have acquired a silhouette craft cutter. I have adhesive vinyl to use with it, so I would expect the rest of these to have crisper lines…I’m sure I will update you. This project was under $10…not bad for a ‘custom’ piece.
Linking up with The Nester’s It Doesn’t Have To Be Perfect To Be Beautiful 🙂

Today’s secret revealed…my kids have ‘assigned’ colors. They are so funny abouth their colors…O&L especially. It took a while to get them to color with anything other than ‘their’ color. This really has made my life easier in so many ways…clothes, shoes, cups…you name it, we have it in the assigned color.
 Pin It
hhpnqotzu,Hi there, just wanted to say, I liked this article. It was helpful. Keep on posting!
luowtgy,Wonderful one thank you so much !
vyzdfelkqe,Thanks for sharing such an amazing blog. I am so happy found this informative blog.
mbngsmnrq,Some really nice stuff on this website, I enjoy it.
Great blog here! Also your website loads up very fast! What host are you using? Can I get your affiliate link to your host? I wish my web site loaded up as fast as yours lol
I just couldn’t depart your website prior to suggesting that I really enjoyed the standard info a person provide for your visitors? Is going to be back often to check up on new posts
With havin so much written content do you ever run into any issues of plagorism or copyright infringement? My website has a lot of completely unique content I’ve either created myself or outsourced but it seems a lot of it is popping it up all over the internet without my authorization. Do you know any ways to help stop content from being stolen? I’d definitely appreciate it.
Such a cute idea, I love it for a personalized space!
Pingback: Personalizing Shared Space | southerngirlsecrets.com
Don’t you love not being perfect? I do!! I’m your newest imperfect follower-stop by for a visit!!